Contents
Getting Started with Aqualytics
Welcome to Aqualytics! Thanks for taking a look. This guide will take you through setting up Aqualytics.
Creating Your Company
To get started with Aqualytics, visit the sign up page and fill in your business information:

After submitting it, you’ll see an onboarding prompt:
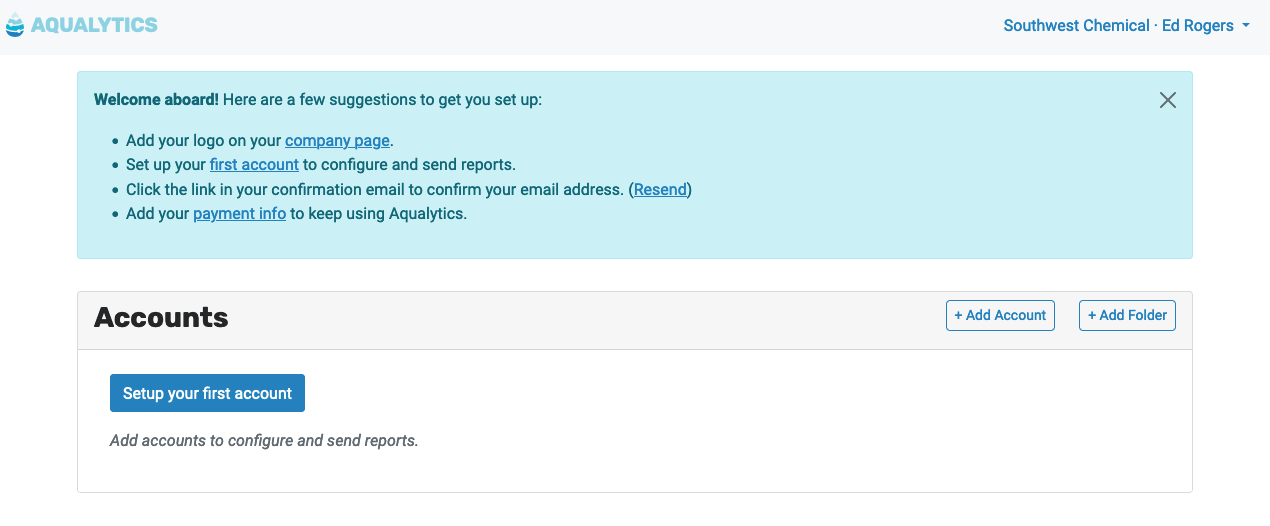
Let’s work through those items.
Adding Your Logo
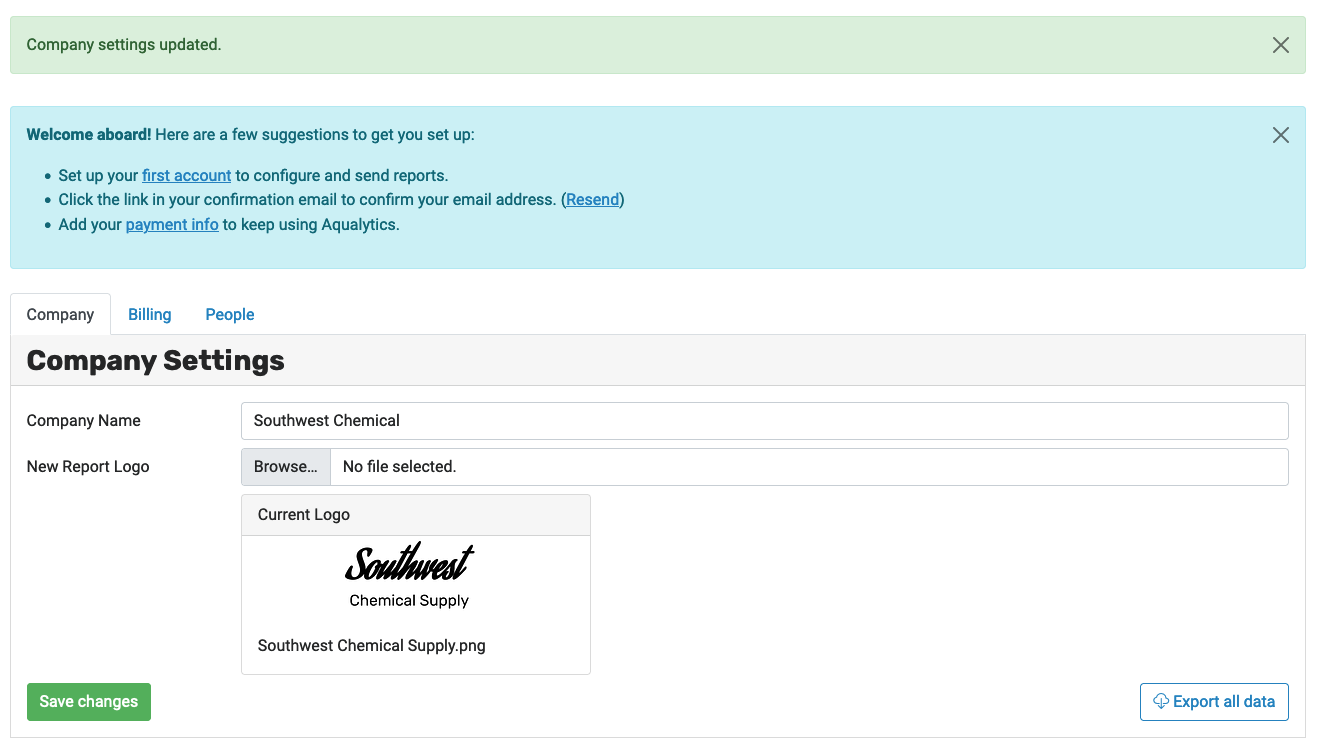
First, click the “company page” link, then click “Browse…” to upload your logo from your computer. It will appear on all the reports you deliver with Aqualytics.
Creating Your First Account
Next, click the “first account” link to enter your first account into Aqualytics.
Type in the relevant information, then click “Create account.”
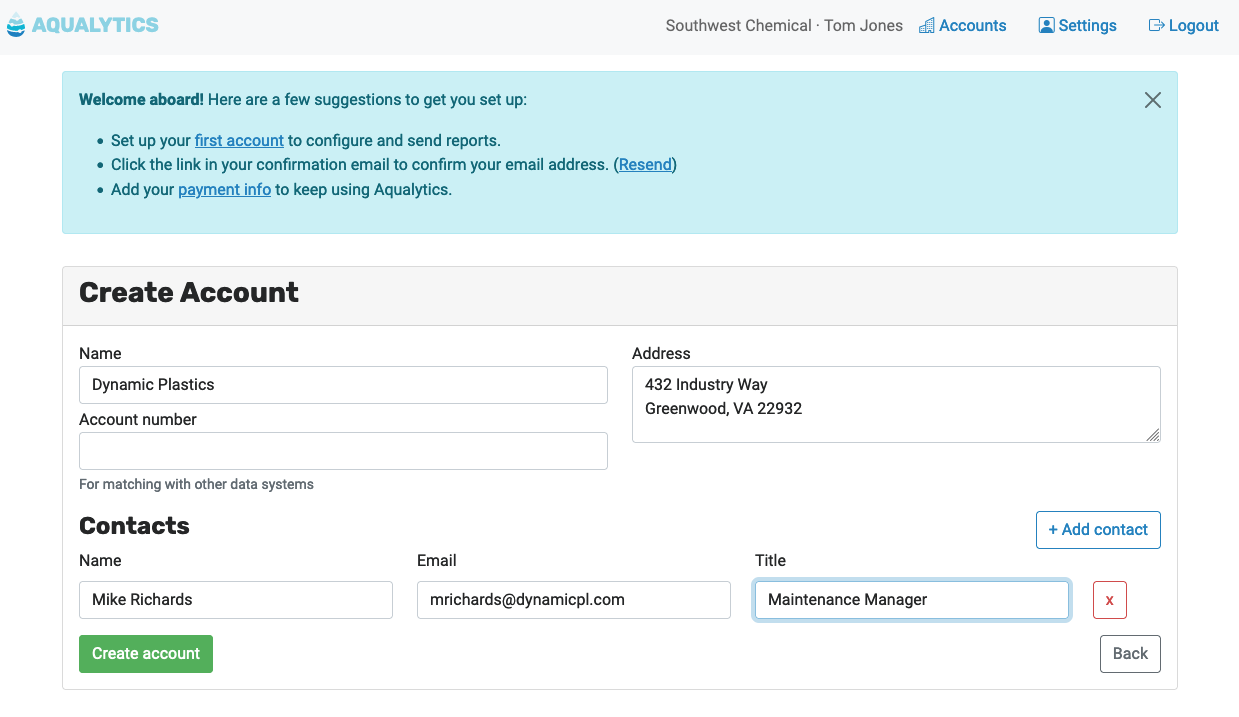
Eventually, you should create one account for each client that you serve.
Configure the System
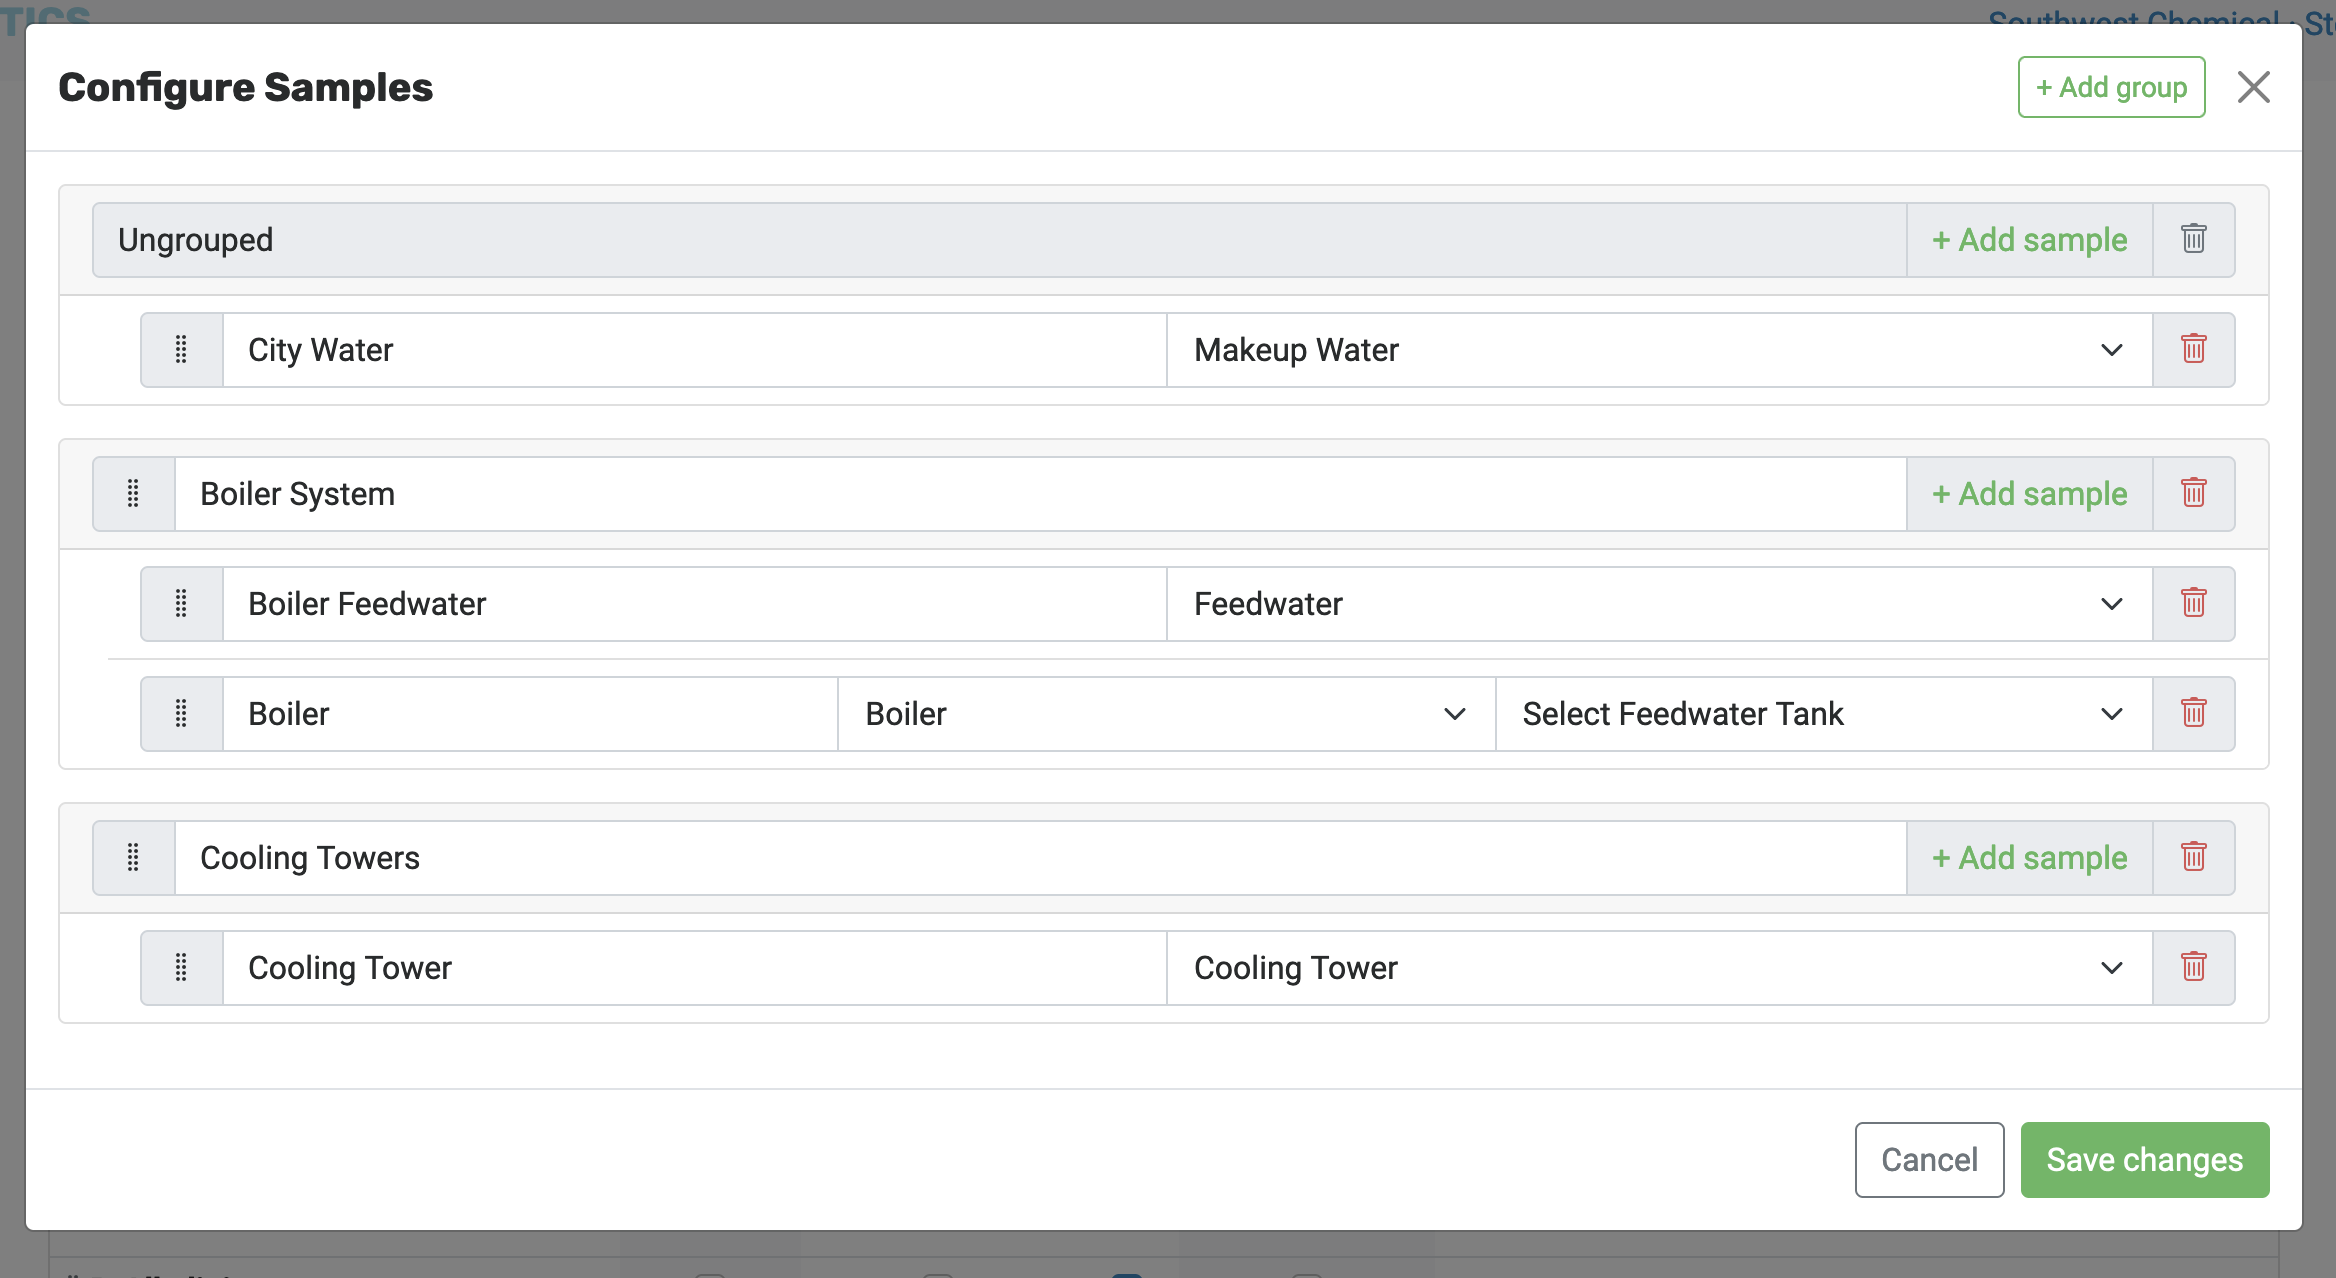
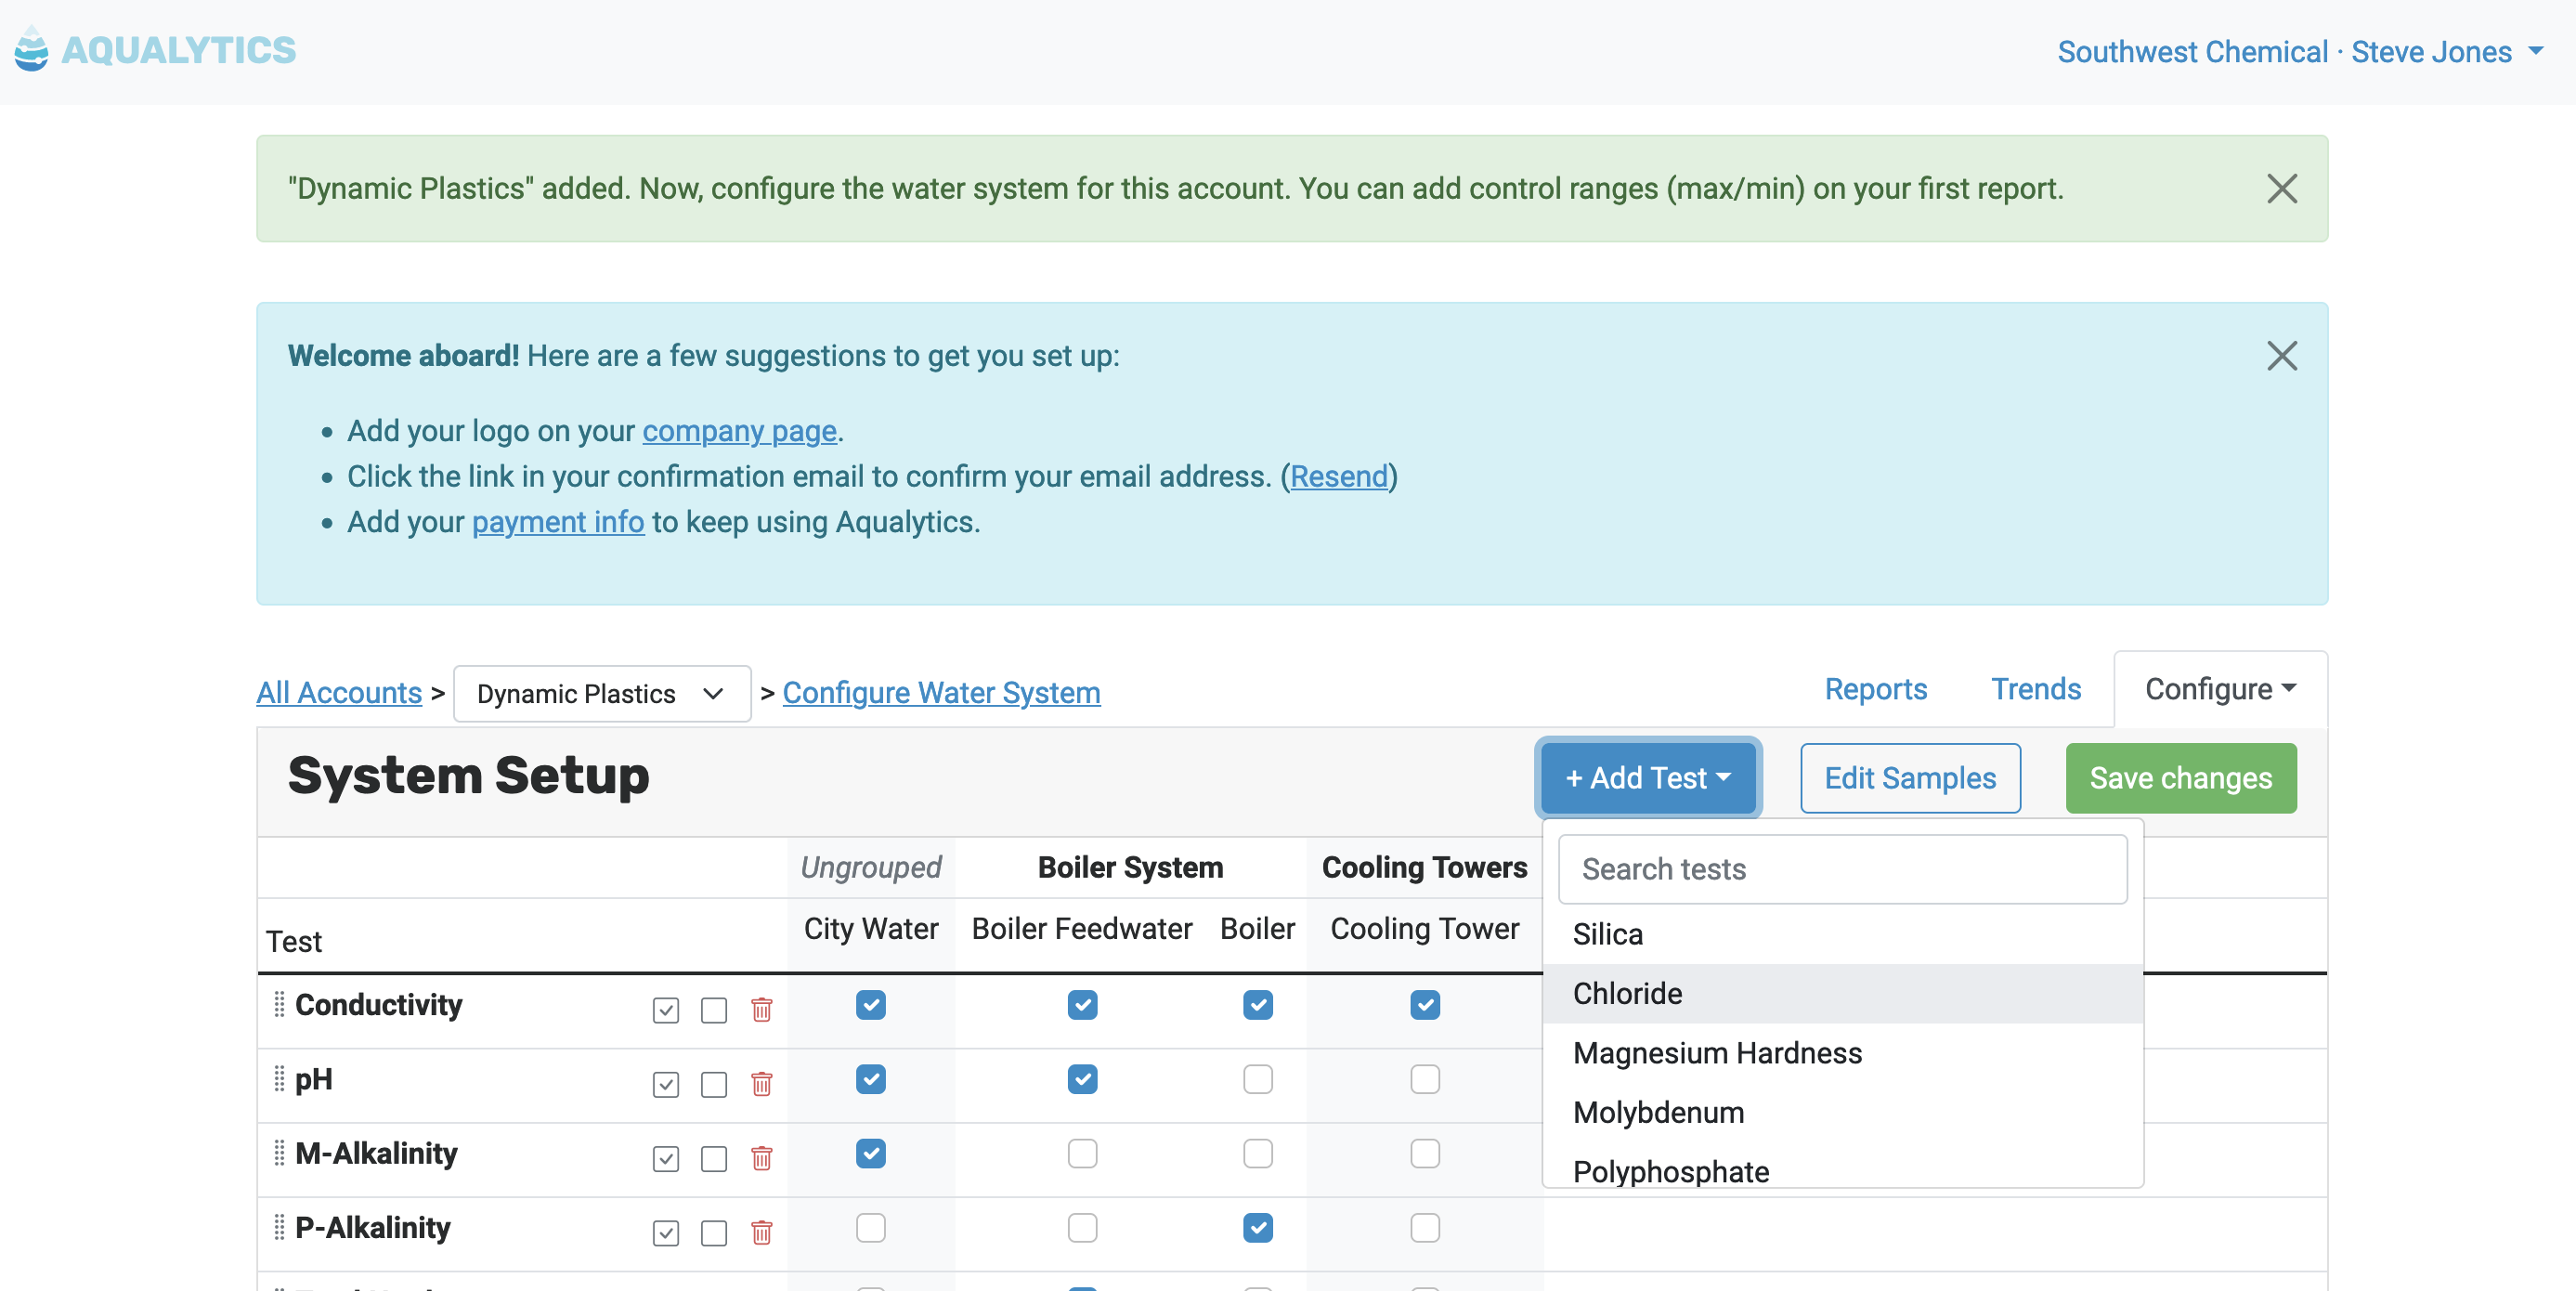
In order to prepare reports with Aqualytics, you have to describe the water system and tests for your new account. In short:
-
Use the “Edit Samples” menu to add sample points to the system:
-
Use the “Add Test” menu to add tests for the account:
-
Check the boxes for each sample and test that you plan to report on:

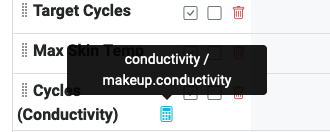
Some of the tests are actually calculated from other data you provide. These tests show a calculator icon which reveals the underlying calculation:
Now that you’ve set up the system, you can create your first report.
Confirming Your Email Address
You must confirm your email address before you can deliver reports via Aqualytics. To confirm it, click the link in the email you received:
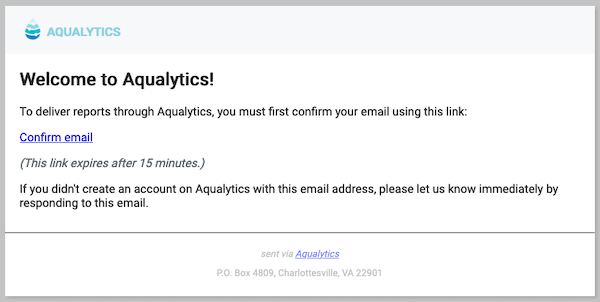
Once it’s confirmed, you can deliver reports once you’re done filling them out.
Adding Your Payment Info
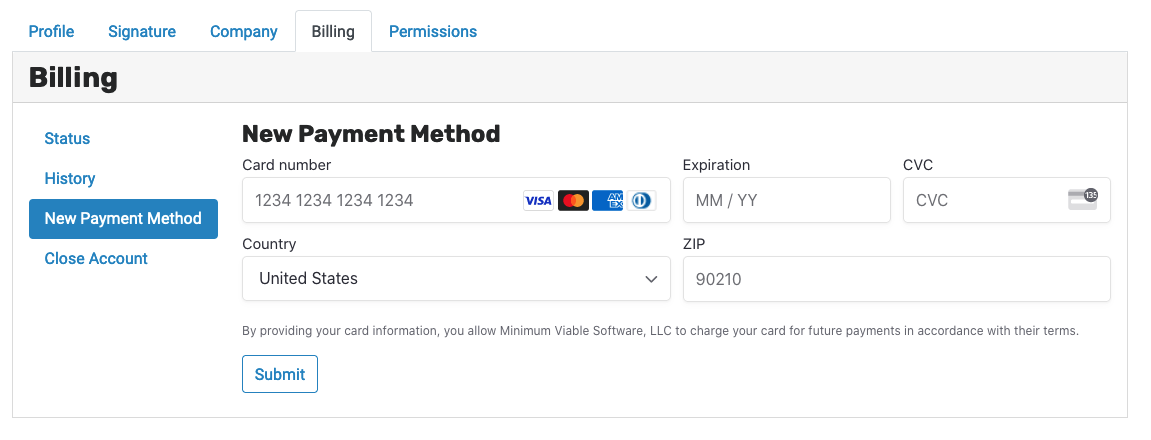
To add a credit card, click the “payment info” link and enter your card information.
(Your first 30 days are free and you can cancel anytime.)
Next Steps
Now that you’ve set up Aqualytics, you can continue to:
- Configure inventory for your accounts
- Create and deliver reports with the data you collect
- Track trends in your data over time